

What Makes a Flexible LED Neon Strip Different From a Standard LED Strip?
A standard LED strip exposes individual LEDs on a flexible circuit board. A flexible LED neon strip adds an optical silicone structure around the light source so that individual LED points appear as a continuous illuminated line.
That difference changes both the appearance and the way the product is installed.
A flexible neon system typically combines:
- Flexible PCB or LED strip
- LED light sources
- Silicone diffuser
- Light-blocking structure
- Power cable
- End caps
- Sealing material
- Mounting clips or profiles
The silicone body does more than protect the internal circuit. Its optical structure distributes the light and helps reduce visible LED dots.
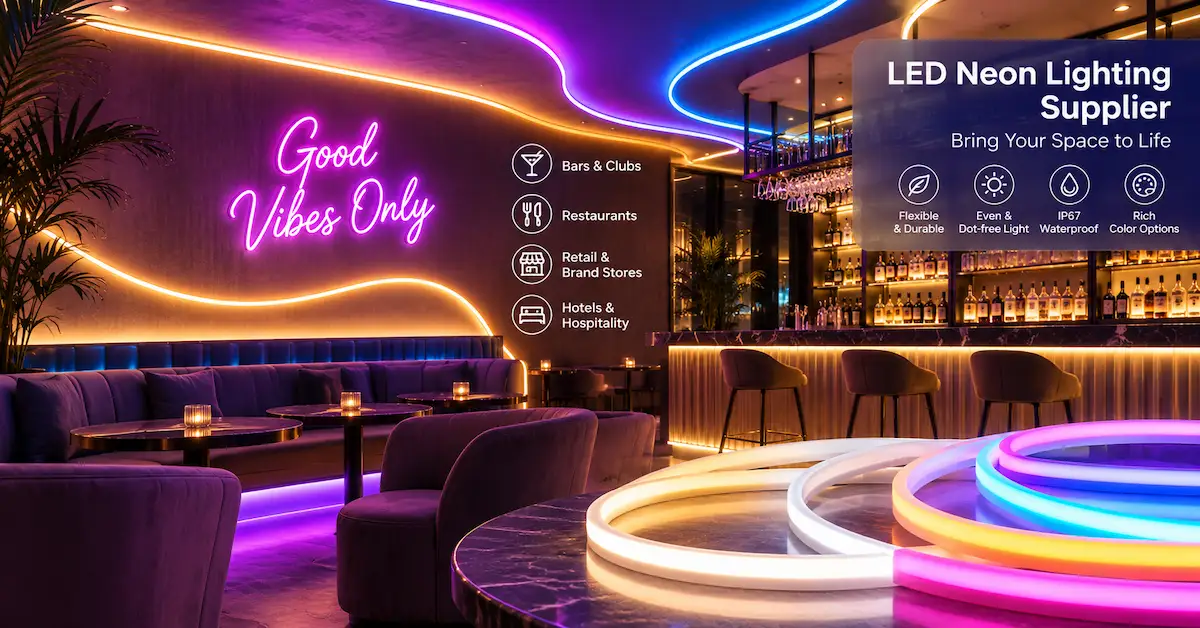
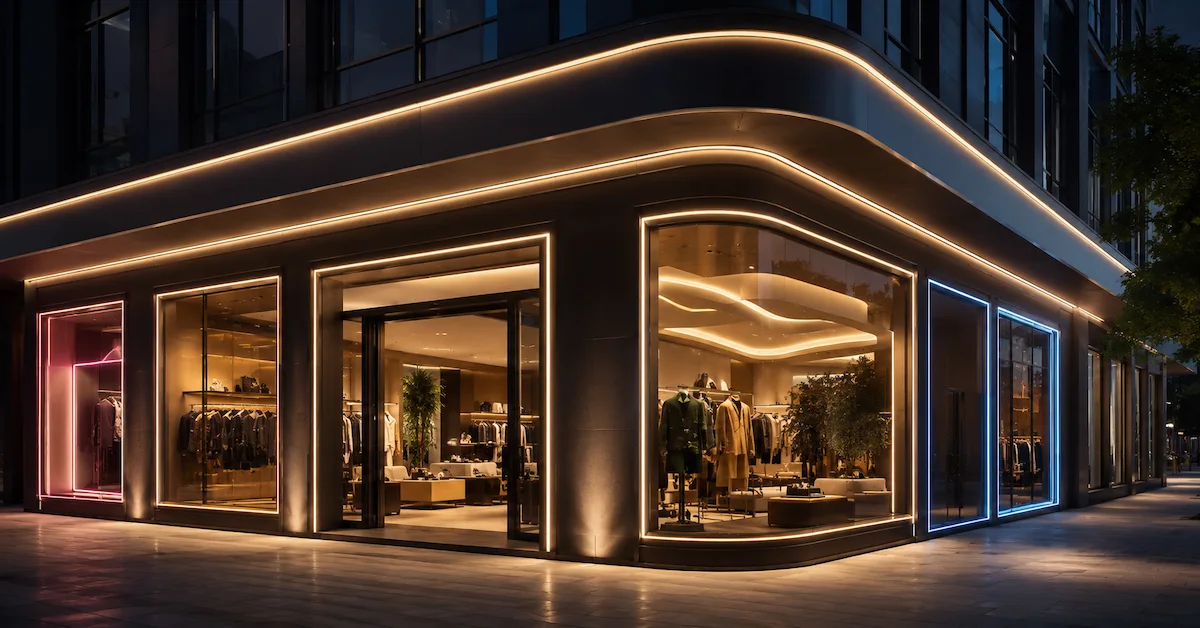
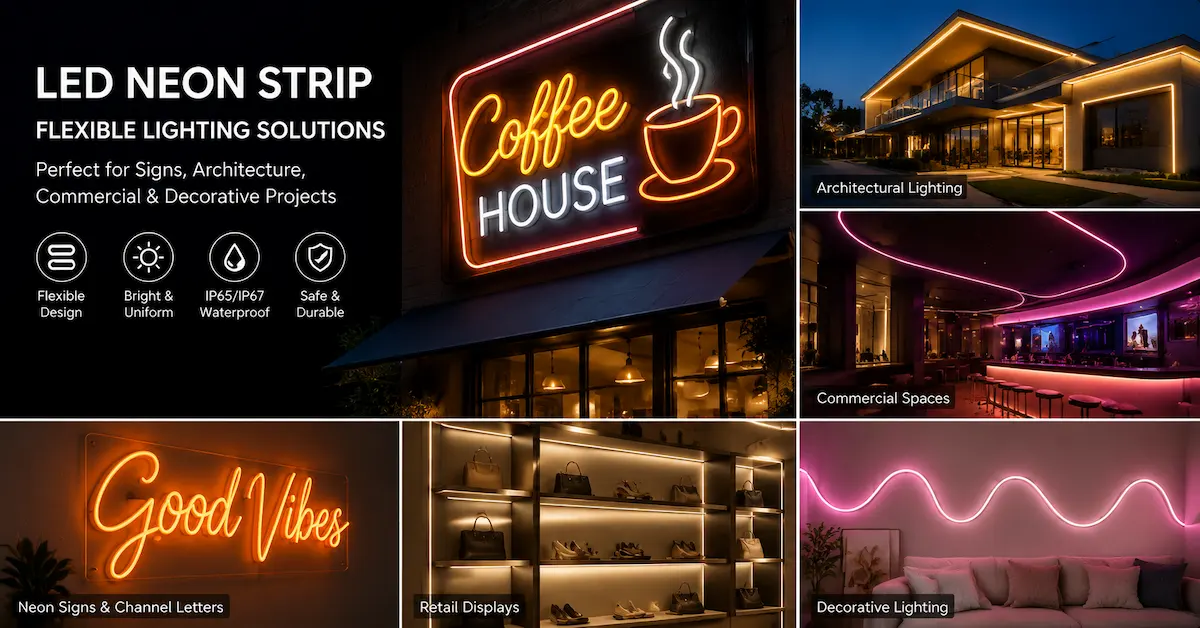
This makes flexible neon particularly useful for applications where the lighting itself remains visible.
Typical examples include:
- Logo outlines
- Storefront signage
- Channel-style decorative letters
- Ceiling contours
- Building outlines
- Bar and restaurant lighting
- Retail interiors
- Hotel feature lighting
- Creative wall installations
You can explore YESUN's LED Neon Strip range for different commercial and decorative applications.

How a Flexible LED Neon Strip Is Constructed
Understanding the product structure makes installation and specification much easier.
Flexible LED Circuit
The internal LED circuit provides the actual light source.
Depending on the product, it may use:
- Single-color LEDs
- Tunable-white LEDs
- RGB
- RGBW
- Addressable LEDs
The PCB width and neon housing must be compatible. If the internal channel is too narrow, the circuit may not fit properly. If it is too wide, the strip may move inside the housing and create inconsistent illumination.
Silicone Diffuser
The visible surface of the neon body acts as a diffuser.
Its purpose is to:
- Blend individual LED points
- Create a continuous light line
- Protect the internal circuit
- Control the emitting direction
Silicone quality also affects flexibility, surface appearance, weather resistance, and long-term optical stability.
Light-Blocking Structure
Many neon profiles are designed with both a transmitting area and a light-blocking area.
This allows the product to direct light toward the desired surface instead of glowing equally in every direction.
The structure becomes particularly important when selecting between top-emitting and side-emitting neon.
End Caps and Cable Entry
The ends of the neon strip require protection after cutting and wiring.
A complete termination may include:
- End cap
- Cable-entry end cap
- Sealant
- Heat-shrink protection where appropriate
For outdoor or humid applications, this termination area can be one of the most important points in the entire installation.
Factory-Finished Neon vs LED Strip Inside a Silicone Sleeve
There are two common ways to create neon-style flexible lighting.
Option 1: Assemble an LED Strip Inside a Silicone Neon Sleeve
This approach uses a compatible LED strip and a separate silicone diffuser profile.
It can be useful for:
- Prototyping
- Small custom projects
- Repairable installations
- Short decorative runs
- Special color or addressable LED requirements
However, compatibility must be checked carefully.
The PCB width, emitting direction, LED spacing, silicone profile, cutting points, and cable structure all need to work together.
Option 2: Use a Factory-Finished Flexible LED Neon Strip
A finished neon strip integrates the electrical and optical structure as one tested product.
This is generally more practical for:
- Commercial signs
- Architectural projects
- Outdoor projects
- Repeated installations
- Distributor orders
- Large quantities
- Projects requiring consistent appearance
For B2B projects, factory-finished products reduce the amount of on-site assembly and make specifications easier to standardize between locations.
Before Installation: Check These Five Compatibility Factors
Many installation problems begin before the neon strip is powered.
1. PCB Width
The internal LED circuit must physically fit the silicone channel.
Do not assume every LED strip can be inserted into every neon sleeve.
2. Emitting Direction
The LEDs must face the correct diffusing surface.
If the internal strip is rotated incorrectly, brightness can drop sharply or the finished neon can illuminate in the wrong direction.
3. Cutting Unit
Different products have different cutting intervals.
Never cut based only on the outer silicone body.
Identify the electrical cutting position first.
4. Voltage
The power supply voltage must match the flexible LED neon strip.
Common commercial systems may use 12V or 24V, while other designs can use different electrical configurations.
5. Controller Compatibility
RGB, RGBW, tunable-white, and addressable neon products use different wiring and control requirements.
Do not select the controller after installation. Define the control system during project planning.
How to Assemble LED Strip Into a Silicone Neon Sleeve
For compatible sleeve-type systems, the process should be controlled carefully to avoid damaging the PCB.
Step 1: Test the LED Strip Before Assembly
Power the LED strip before inserting it into the silicone housing.
Check:
- All LEDs illuminate
- Color is correct
- No damaged solder joints
- Control functions work
- Cable connection is secure
Finding a fault before assembly is much easier than removing the internal strip later.
Step 2: Prepare the Silicone Neon Profile
Keep the silicone profile:
- Straight
- Clean
- Untwisted
A twisted profile increases friction and makes it easier for the PCB edge to damage the internal silicone wall.
For long lengths, lay both the neon profile and LED strip on a straight work surface before assembly.
Step 3: Confirm the LED Orientation
Identify the light-emitting surface before inserting the strip.
The LEDs should face the diffusing section of the silicone housing.
This step sounds simple, but reversing the LED orientation can make the entire assembly unusable until the circuit is removed and reinstalled.
Step 4: Guide the LED Circuit Through the Housing
Some sleeve-style neon profiles use a guide or traction line to help draw the LED strip through the channel.
When pulling:
- Apply force gradually
- Keep the LED strip straight
- Avoid sharp bending
- Avoid pulling directly on weak PCB sections
- Stop if resistance increases suddenly
Excessive force can damage solder joints, the PCB, or the silicone interior.
For longer runs, manual insertion becomes increasingly difficult. Commercial production generally uses more controlled tools and processes rather than relying only on hand pulling.
Step 5: Re-Test the Lighting
After insertion, power the system again before sealing the ends.
Inspect the full length for:
- Dark sections
- Damaged LEDs
- Color errors
- Incorrect orientation
- Unexpected voltage drop
Do not permanently seal the product until this check is complete.
Step 6: Install the Power Cable and End Caps
Pass the power cable through the correct cable entry.
Then fit the end caps according to the product design.
Make sure the cable is not placed under excessive tension.
A good termination should provide both:
- Electrical reliability
- Mechanical strain relief
Step 7: Seal the Ends
For projects requiring moisture protection, the cut and cable-entry ends need careful sealing.
Water can enter through:
- Cable openings
- Poorly fitted end caps
- Cut surfaces
- Damaged silicone
This means an outdoor neon strip cannot be judged by the silicone body alone.
The completed connection and termination method is part of the waterproof system.
Why Waterproof Sealing Often Fails at the Ends
One of the most common misunderstandings in outdoor flexible neon projects is assuming that a waterproof neon body automatically makes the entire installation waterproof.
The vulnerable areas are often the connections.
Typical failure causes include:
- Insufficient sealant
- Incorrect end caps
- Cable movement
- Poorly prepared surfaces
- Damaged silicone
- Repeated bending near the termination
For outdoor projects, installers should avoid placing connection points where water naturally collects.
Where possible, also provide:
- Drip protection
- Cable strain relief
- Accessible maintenance points
- Correct mounting orientation
If a project requires specific environmental protection, confirm the complete assembled product's IP suitability rather than judging only the raw neon profile.
Top-Emitting vs Side-Emitting Flexible LED Neon Strip
The emitting direction determines what types of curves can be created.
| Type | Light Direction | Typical Use |
|---|---|---|
| Top Emitting | Light exits the top surface | Logos, linear decoration, signage |
| Side Emitting | Light exits from the side | Architectural curves, edge outlines |
| Multi-Direction/Special Profile | Product dependent | Custom design applications |
Top-Emitting Neon
Top-emitting designs are often suitable when the illuminated surface faces the viewer directly.
Examples include:
- Letter outlines
- Wall graphics
- Interior decorative lines
Side-Emitting Neon
Side-emitting products are useful when the installation needs to bend along another axis.
Examples include:
- Building contours
- Curved architectural features
- Furniture outlines
Always check the permitted bending direction.
Forcing a neon strip against its designed bending axis can damage the internal PCB or deform the silicone.
How to Mount Flexible LED Neon Strip Correctly
Flexible does not mean unsupported.
A neon strip should normally be mechanically secured using a mounting system designed for its profile.
Common options include:
- Short mounting clips
- Aluminum channels
- Flexible mounting profiles
Mounting Clips
Clips are useful for:
- Simple straight runs
- Moderate curves
- Easy service access
Spacing should be sufficient to prevent sagging while avoiding excessive compression of the silicone.
Aluminum Profile
A continuous profile provides:
- Straighter installation
- Better visual alignment
- Stronger mechanical support
It is especially useful for architectural lines where inconsistent alignment would be visible from a distance.
Flexible Profile
Flexible channels can help guide curved installations while maintaining a more controlled shape.
Whichever method is used, do not:
- Staple through the neon
- Screw directly through the silicone body
- Clamp it so tightly that the housing deforms
Power Planning for Flexible LED Neon Strip
Good optical installation can still fail if the electrical design is incorrect.
Before installation, confirm:
- Voltage
- Watts per meter
- Total connected length
- Power supply capacity
- Cable size
- Controller capacity
- Power injection requirements
Calculate the Connected Load
For example, if a neon product consumes 10 W/m and the project uses 12 meters:
12 m × 10 W/m = 120 W
The power supply should then include appropriate operating headroom rather than being selected exactly at the calculated load.
For project systems, you can also review YESUN's broader LED product solutions when matching lighting, control, and power components.
Voltage Drop in Longer Neon Runs
Long flexible LED neon strip installations may become dimmer toward the far end if the wiring or circuit design creates excessive voltage drop.
Possible solutions include:
- Shorter electrical sections
- Parallel wiring
- Power injection
- Larger cable size
- Suitable system voltage
- Multiple power zones
Do not confuse a physical continuous line with a requirement for one continuous electrical feed.
A long architectural line can often be visually continuous while being electrically divided into several manageable zones.
Common Flexible LED Neon Strip Installation Problems
Visible Dark Spots
Possible causes:
- LED density too low
- Internal strip misalignment
- Incorrect diffuser compatibility
- Damaged LED section
Uneven Color
Possible causes:
- Mixed LED batches
- Incorrect RGB wiring
- Voltage drop
- Controller mismatch
Silicone Damage During Assembly
Possible causes:
- PCB edge scraping the internal wall
- Twisted housing
- Excessive pulling force
- Incompatible PCB width
Water Entering the Neon
Possible causes:
- Poor end sealing
- Loose cable entry
- Damaged housing
- Incorrect installation orientation
Neon Pulling Out of the Mounting Clips
Possible causes:
- Clip spacing too wide
- Wrong clip size
- Tight unsupported curves
- Thermal movement
When Should You Avoid On-Site Sleeve Assembly?
Building neon from a separate LED strip and silicone diffuser provides flexibility, but it is not always the best option.
For commercial installations, consider a factory-finished flexible LED neon strip when:
- Many identical units are required
- The project is outdoors
- Waterproof consistency is critical
- Appearance must match across locations
- Installation labor needs to be reduced
- Products need repeatable specifications
- OEM/private-label production is required
This is particularly relevant for:
- Chain-store signage
- Hotel projects
- Shopping malls
- Building facades
- Large sign programs
- Distributor inventories
YESUN supports commercial LED projects with product customization, engineering assistance, and OEM/ODM services. Learn more about the company's manufacturing and technical capabilities on the About YESUN LED page.
What Project Information Should You Send Before Ordering?
For a more accurate flexible neon recommendation, provide:
- Application
- Indoor or outdoor environment
- Required neon dimensions
- Total length
- Bend direction
- Minimum curve radius required
- Voltage
- Color or CCT
- RGB/RGBW requirement
- Control method
- Cable position
- Connection drawing
- Quantity
For shaped signage, also provide:
- Artwork
- CAD drawing
- Installation dimensions
- Photos of the mounting surface
This information reduces unnecessary sampling cycles and helps identify potential installation problems before production.
Frequently Asked Questions About Flexible LED Neon Strip
What is a flexible LED neon strip?
A flexible LED neon strip combines LEDs with a diffusing silicone or similar optical housing to create a continuous neon-style light line while maintaining flexible installation characteristics.
Can any LED strip be installed inside a silicone neon tube?
Not automatically. PCB width, emitting direction, LED spacing, electrical design, and silicone-channel dimensions must be compatible.
Can flexible LED neon strip be cut?
Many models are cuttable at designated cutting points. The allowable cutting interval depends on the specific electrical design, so always follow the product instructions.
Can flexible LED neon be used outdoors?
Yes, when the selected product and completed connections provide suitable environmental protection. Outdoor suitability should include the end caps, cable entry, and sealing method—not only the silicone body.
Why can I see dark spots in LED neon?
Dark spots may result from low LED density, poor diffusion, circuit damage, misalignment, or electrical voltage drop.
Is 12V or 24V better for flexible LED neon?
Both can be suitable depending on product design. For longer commercial runs, voltage drop and circuit zoning become important considerations, so system selection should be based on the complete installation.
How is flexible LED neon mounted?
Common mounting methods include clips, rigid aluminum profiles, and flexible mounting channels designed for the neon profile.
Can YESUN customize flexible LED neon strips?
YESUN supports customized commercial LED lighting projects, including project-specific product configuration and OEM/ODM requirements. For a specific neon project, send the application, dimensions, color, voltage, installation environment, and order quantity through the YESUN contact page.
Conclusion
A flexible LED neon strip is more than an LED strip hidden inside a diffuser. Its performance depends on the compatibility between the circuit, silicone optical structure, electrical system, terminations, mounting method, and installation environment.
For small custom projects, assembling a compatible LED strip inside a silicone neon sleeve can provide useful flexibility. For commercial signage, architectural lighting, outdoor installations, and repeated projects, factory-finished flexible neon generally provides better consistency and easier specification control.
The most reliable process is to define the application first, select the correct emitting direction and electrical configuration, verify the installation layout, test the product before sealing, and protect every connection point carefully.
Explore YESUN LED Neon Strips or contact YESUN with your drawing, required length, color, voltage, installation environment, and project quantity for a suitable flexible neon lighting solution.